 Today was our season opener, and I've been pumped for weeks about heading to Starkville to see the fam, tailgate and watch what was sure to be a slaughter/win for our first game of the season. As life would have it, plans changed and twenty minutes into our two hour drive, the rain was pouring so hard I couldn't see ten feet in front of the car and the husband was complaining about having to go watch a blowout game potentially in the rain. So I found the closest turnaround on the interstate, and we hauled our butts back to the house. After I dragged him to the grocery store, the hubs and I salvaged the rest of our day by pigging out on tailgate favorites and watching the game on TV from the comfort of our couch.
 Earlier in the week, someone asked me to bake cupcakes for her tailgate this weekend. She kinda had to twist my arm because I'm swamped at work and her tailgate was at that school up north. But, I stink at saying no (plus I love an excuse to bake!). She chose Cookies and Cream cupcakes which dissapointed me because I was craving a new Rolo cupcakes recipe (and I was just planning to double the recipe and take the same cupcakes to my tailgate). Turns out, Cookies and Cream was a delicious choice!
I adapted this recipe from Confessions of a Cookbook Queen. I stuck with her filling and (AMAZING!) frosting recipes but used this go-to, never-fail doctored up mix recipe from My Baking Addiction for the cake. Then I topped the cupcakes with Bakerella's adorable football Oreo truffles. Sorry I don't have pictures of the process. I wish that my baking was less rushed, but the fulltime job doesn't account for all my hobbies in its schedule. I tripled the recipe and made two batches of full-sized cupcakes and one batch of minis to take to work.

Cupcakes
(makes 24)
1 box of Duncan Hines White cake mix
1 (3.4 oz) package french vanilla instant pudding mix
1 cup sour cream
1 cup vegatable oil
5 egg whites
2 teaspoons vanilla extract
1/2 cup warm water
24 Oreos
 |
| My kitchen at this point. Organized chaos. |
1. Original instructions call for a 350 degree preheated oven. I have convection ovens, so I turn mine down to about 315 degrees. Line your muffin wells and place an Oreo at the bottom of each. (For the minis, I put two little pieces of broken Oreo in the bottom of each liner.)
2. Beat all your ingredients together (for about two minutes) until well combined.
3. Distribute the batter between 24 lined muffin wells (on top of the Oreos). I use an almost full cookie scoop. Your wells will be almost three quarters full.
4. Bake for about 18-22 minutes or until toothpick insert comes out barely clean. Again, my convection ovens cook differently, so I'm assuming the original instructions are good for traditional ovens. I haven't tested that.
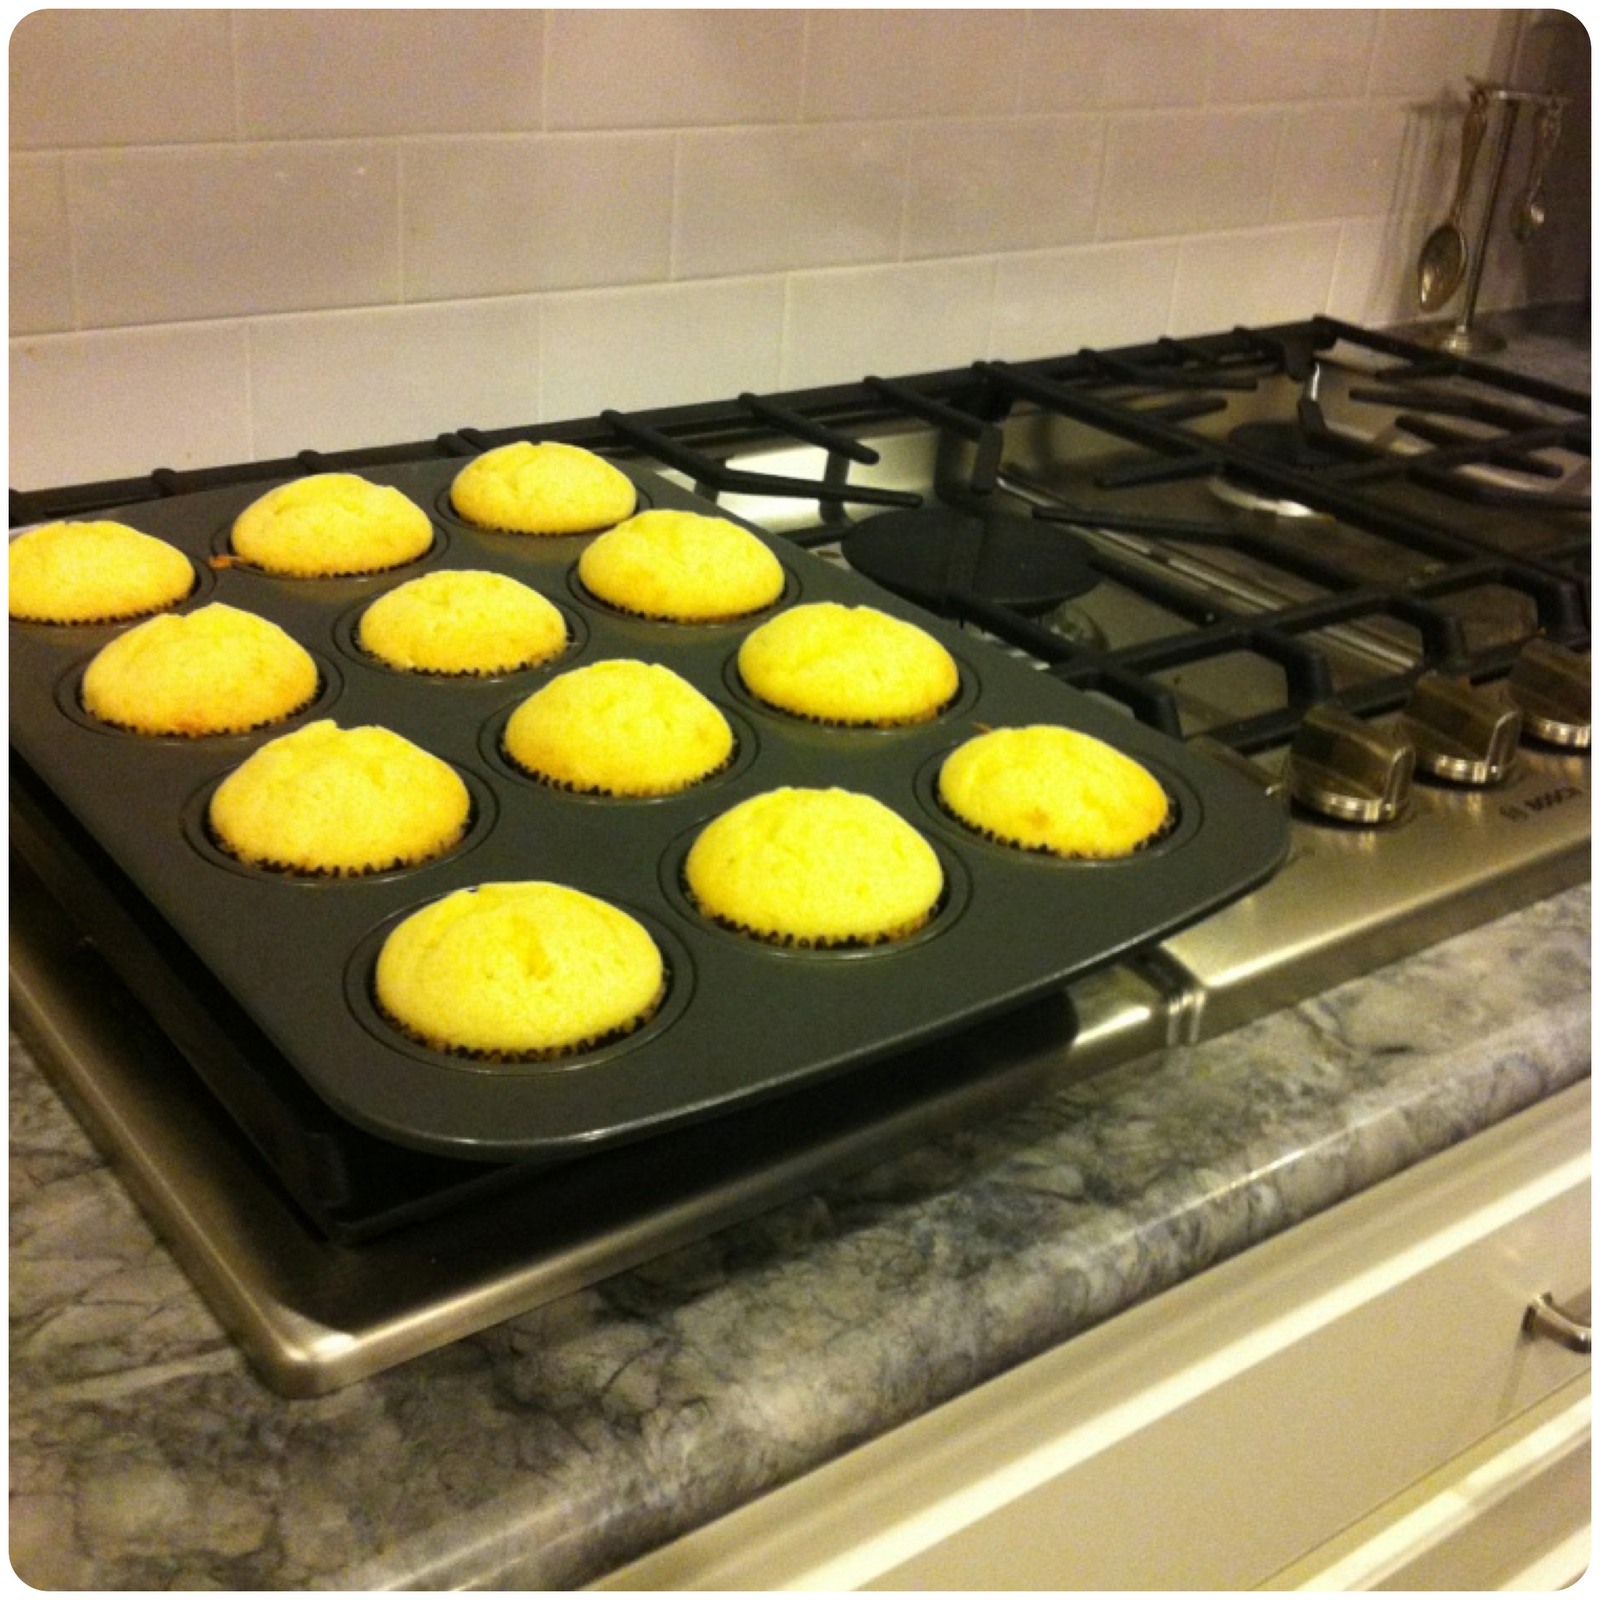 |
| Right out of the oven. |
 |
| Pre-filling. Love that Oreo baked in! |
Now, for the filling:
I'm going to send you over to the original recipe for these instructions. They're perfect.
Once you've made your filling and the cupcakes are baked and cooled, fill each cupcake with the yummy, gooey cream filling. I found that the easiest way was to core the cupcakes with the handy tool I picked up at Hobby Lobby, and then pipe the filling in with a medium sized round tip. Then I replaced half of each core to cover the filling. (For the minis, I just used a medium-sized round tip, poked it halfway into the minis, and pumped the filling right in. They don't take much filling since they're so small.)
Now on to the AMAZING frosting. I promise, it tastes exactly like cookies and cream ice cream. Again, run on over to Cookbook Queen's blog for this recipe. I would add that you need to be very gentle when adding the crushed Oreos to the frosting. I'm not sure if it's because my Oreos were ground too finely in my food processor or if I overmixed, but my frosting turned out a bit more grey than I would have liked. Still, it was delicious.
Generously pipe your frosting onto the cupcakes. I used Wilton's #1M tip.
Now for the decor. My cupcakes were going to tailgates, so I colored some of my leftover frosting the team colors and made cute little frosting pom poms on the tops of each cupcake. I used Wilton tip #233 (the grass tip) for the main color of each pom pom, and then accented that with little pieces of the other color using Wilton's smallest round tip (#1). For the maroon and white cupcakes, I used white chocolate for the white accents since the frosting was grey.
 |
| Ole Miss pom pom! |
For the football Oreo truffles, head over to Bakerella's blog. All I can say about the football shape is that it's a pain. Which is why not all of my cupcakes have footballs. Don't even try the shape if your dough isn't firmly chilled. Also, be sure they're firm when you dip them, or you'll end up with a blob, not a football. I used Wilton's #1 tip to pipe white chocolate for the laces.
Carefully smush each football onto your pom pom decorated cupcakes (you don't want them to fall off during transport). Store in airtight container in fridge until an hour before serving. These do well left out for a while, but I wouldn't leave them out overnight.
Now just whip up some of your favorite tailgating foods, and you're ready for a party!

|
| Mississippi State style!!! |


.JPG)


